Ok, let's talk about the grout
When we talked to the contractor/handyman guy, we mentioned that we were going to attempt to do the backsplash in our kitchen. Oh yeah, he said. It'll be easy, you can do it in a weekend he said.
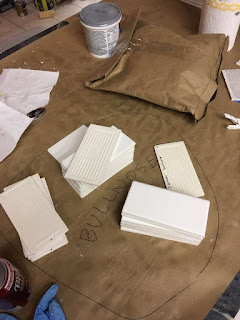
It started out pretty well. I laid out all the tiles to make sure I had enough. I started to draw out a grid to see how the tiles would go up on the wall and wrap around the corners and not leave any tiny tile slivers.

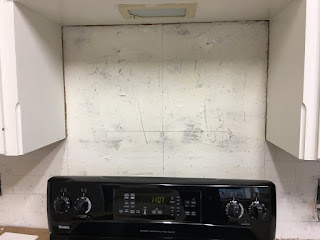
When I got done with the grid, I realized that I had a big gap at the top between the tile and the cabinets. That's when we decided we needed to use spacers. If you haven't ever used it, subway tile comes with a built in angle that gives it a 1/16 inch grout line space. You don't have to use additional spacers, which will make the grout line bigger. But we needed the space, so we used an additional 1/16 in spacer for a 1/8 inch grout line.


Then came the required trip to Home Depot (they LOVE to see us coming). We looked at all of the tile cutting instruments and talked with a Home Depot employee, and we walked out with this beauty. It's Ryobi, so it matches all of the other members of our tool family.

I managed to assemble it all by my lonesome, and the saw blade did not come flying off and kill anyone when we first turned it on. Yay me!
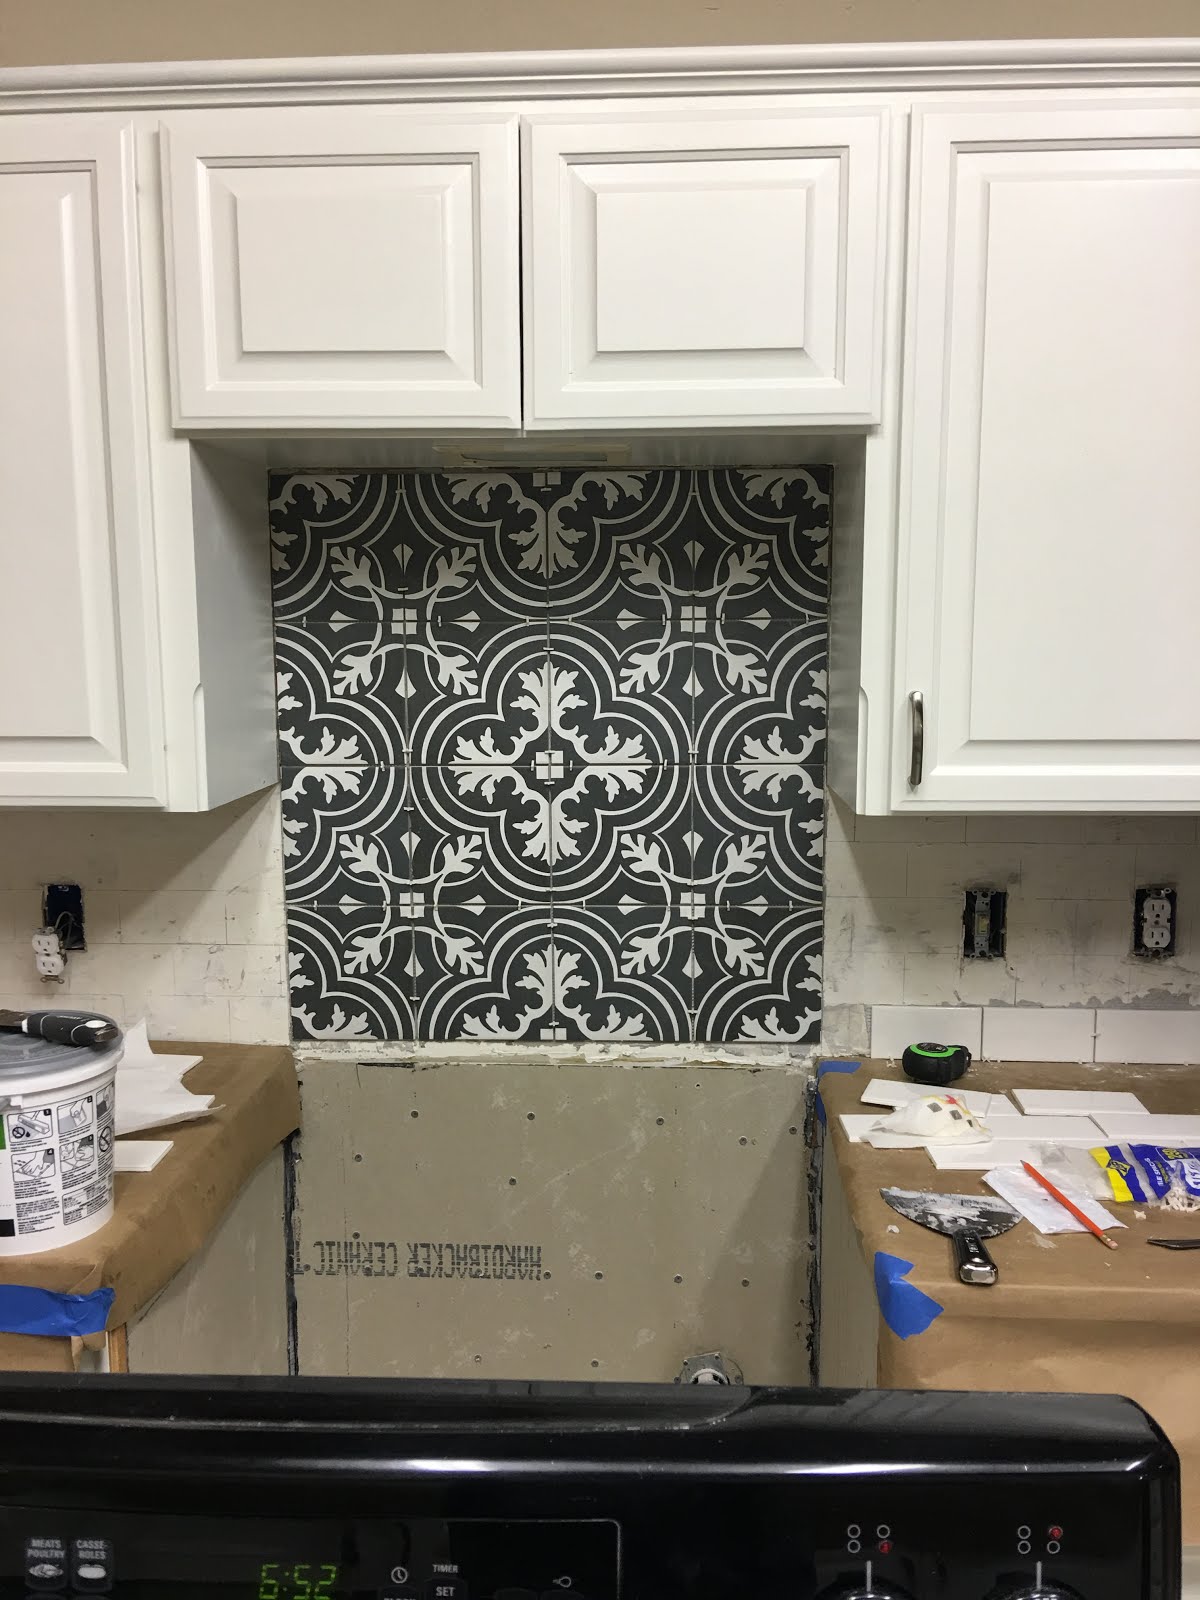
The easiest part was the large decorative tiles. They went in pretty quickly.

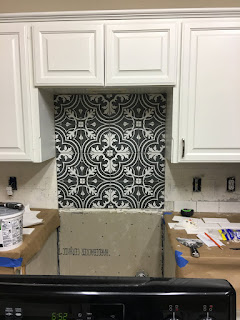
Then we moved on to the subway tiles. The first part went well.


Hey, we're getting pretty good at this!


Look! We even have bullnose edge tiles to make it look super polished. We are professionals, y'all!

Sometimes the person in charge of cutting the tiles picks up the wrong sort of tile and accidentally cuts a tile he shouldn't. (I'm not naming any names.) So sometimes you have to get creative to protect your valuable bullnose trim pieces.

There were some tricky spots, but we managed to overcome.


We got really excited about our progress at this point. So much that we rushed to get to the grouting part. We had looked at grout and caulk at Home Depot. We wanted a gray, but not like a really dark gray for a big contrast. We wanted a subtle light gray with a subtle contrast.
Side note: I always considered Home Depot and Lowe's kind of interchangeable as far as home improvement supplies. It just depends on which one is closest to you, I thought. However in making purchases for renovation of the UF, I have done a lot of comparison shopping and I've found Lowe's selection to be far less than that of Home Depot.
Home Depot had a selection of grout that wasn't exactly desirable. The grays were too dark. So I got online and looked at Lowe's and in the grout selection area, they have a MUCH better variety of grout colors and supplies. I found a Warm Gray unsanded grout and matching caulk and sent my husband to go pick it up at Lowe's. It was a mix, as opposed to pre-mixed stuff in a bucket. He went off to his brewery to wire a 50 amp circuit, and I started to mix up the grout.
I've watched a lot of HGTV and DIY network ya'll, and I've seen how grouting works. You apply it with the grout float, get it in all the grooves, then use a sponge and remove it from the surface of the tile. The wiping motion removes just enough grout from the filled grooves to leave a subtle little divot in the grout between the tiles. Right? That's how it works, right?
Here's what I was left with.


That stuff is dried solid, like cement. The sponge wiping divot making process was totally futile. It was not beautiful at all. It was a giant failure of a mess. Why is this happening to me? What did I do wrong? Picked up the package that the grout powder came in, and I realize that this is special "rapid setting" grout. What?! Why does this exist and who would need it? Damn you, Lowe's and your giant selection of grout products and colors!
I had to improvise, and I figured out that I could scrape enough of the dried grout away to get the effect I was looking for. So yeah, I scraped every single grout line until it had the perfect little divot. I don't even know how long it took. All I know is that I started early Sunday morning, and I was there until after dark. What a damn mess it was. My husband tried to help, and that involved a hammer, a chisel, his Dremel, and lord knows what else. I finally had to send him home because I couldn't take all the noise. I just used a putty knife with curved edges and it managed to remove enough of the dried grout without damaging the tiles or the grout line. Well, without *much* damage to the tiles or grout lines. There are still some gaps that need to be filled and some places where my husband hammered out more of the grout than intended. I'm still too traumatized to go get more grout to fill it in. But I will one day, I promise.
So the moral of this story is: read your package. I usually do this, and I did actually read the directions on this particular stuff. But somehow I missed 2 words "rapid setting" and that made all the difference in the world.


Comments
Post a Comment